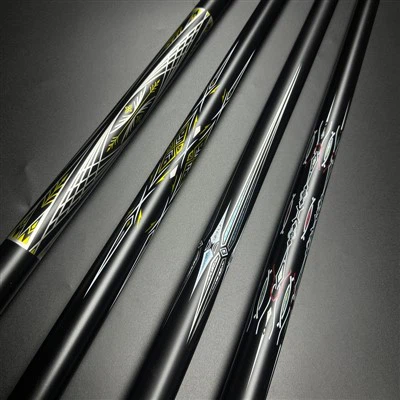
Replacing the joint on a pool cue is a task that requires a certain level of skill and knowledge. As a pool cue supplier, I've seen many customers face issues with their pool cue joints. In this blog, I'll guide you through the process of replacing the joint on your pool cue, sharing some tips and insights along the way.
Understanding the Pool Cue Joint
Before we dive into the replacement process, it's important to understand what a pool cue joint is and its role. The joint is the part of the pool cue that connects the butt (the thicker end) to the shaft (the thinner end). It plays a crucial role in the performance of the pool cue, as it affects the transfer of energy from the player's stroke to the cue ball.


There are different types of joints, such as the 3/8x10, 5/16x14, and Uni-Loc joints. Each type has its own characteristics and is suitable for different playing styles and preferences. When replacing the joint, you need to ensure that you choose the right type for your pool cue.
Tools and Materials Needed
To replace the joint on your pool cue, you'll need the following tools and materials:
- Cue Lathe: A cue lathe is essential for accurately cutting and shaping the joint. If you don't have one, you can consider taking your pool cue to a professional cue maker or repair shop.
- Joint Screw and Collar: You'll need to purchase a new joint screw and collar that are compatible with your pool cue. Make sure to choose high-quality components to ensure the longevity and performance of your pool cue.
- Epoxy Resin: Epoxy resin is used to bond the joint to the butt and shaft of the pool cue. It's important to choose a high-strength epoxy resin that is specifically designed for pool cue repair.
- Sandpaper: You'll need sandpaper of different grits to smooth the surfaces of the joint and the pool cue before bonding.
- Clamps: Clamps are used to hold the joint in place while the epoxy resin dries. Make sure to use clamps that are strong enough to hold the joint firmly without damaging the pool cue.
Step-by-Step Guide to Replacing the Joint
Now that you have all the necessary tools and materials, let's walk through the process of replacing the joint on your pool cue:
- Remove the Old Joint: Use a cue lathe or a suitable tool to carefully remove the old joint from the butt and shaft of the pool cue. Make sure to take your time and be careful not to damage the pool cue.
- Prepare the Surfaces: Use sandpaper to smooth the surfaces of the joint and the pool cue where the new joint will be installed. This will help the epoxy resin bond better.
- Apply the Epoxy Resin: Mix the epoxy resin according to the manufacturer's instructions. Apply a thin layer of epoxy resin to the surfaces of the joint and the pool cue.
- Install the New Joint: Carefully insert the new joint into the butt and shaft of the pool cue. Make sure the joint is aligned properly and tightened securely.
- Clamp the Joint: Use clamps to hold the joint in place while the epoxy resin dries. Make sure to follow the manufacturer's instructions for the drying time.
- Finish the Pool Cue: Once the epoxy resin has dried, use sandpaper to smooth the surfaces of the pool cue and the joint. You can also apply a finish to the pool cue to protect it and give it a professional look.
Tips and Tricks
- Choose the Right Joint: As mentioned earlier, it's important to choose the right type of joint for your pool cue. Consider your playing style and preferences when making your decision.
- Take Your Time: Replacing the joint on a pool cue is a delicate process that requires patience and precision. Don't rush the process and take your time to ensure that everything is done correctly.
- Seek Professional Help: If you're not confident in your ability to replace the joint on your pool cue, it's best to seek professional help. A professional cue maker or repair shop can ensure that the job is done correctly and that your pool cue performs at its best.
Related Products
As a pool cue supplier, we offer a wide range of pool cues to meet the needs of different players. Here are some of our popular products:
- One Piece Pool Cue: This one-piece pool cue is perfect for beginners and intermediate players. It offers a smooth and consistent stroke, making it easy to control the cue ball.
- 1/2 Jump Break Cue: This jump break cue is designed for players who want to add some power and control to their game. It features a unique design that allows for easy jumping and breaking.
- 48 Inch Snooker Cue: This snooker cue is perfect for players who enjoy playing snooker. It offers a balanced and precise stroke, making it easy to pocket balls.
Conclusion
Replacing the joint on a pool cue is a challenging but rewarding task. By following the steps outlined in this blog and using the right tools and materials, you can replace the joint on your pool cue and improve its performance. If you have any questions or need further assistance, please don't hesitate to contact us. We're here to help you find the perfect pool cue for your needs.
References
- "Pool Cue Repair Guide" by [Author Name]
- "The Complete Guide to Pool Cue Maintenance" by [Author Name]